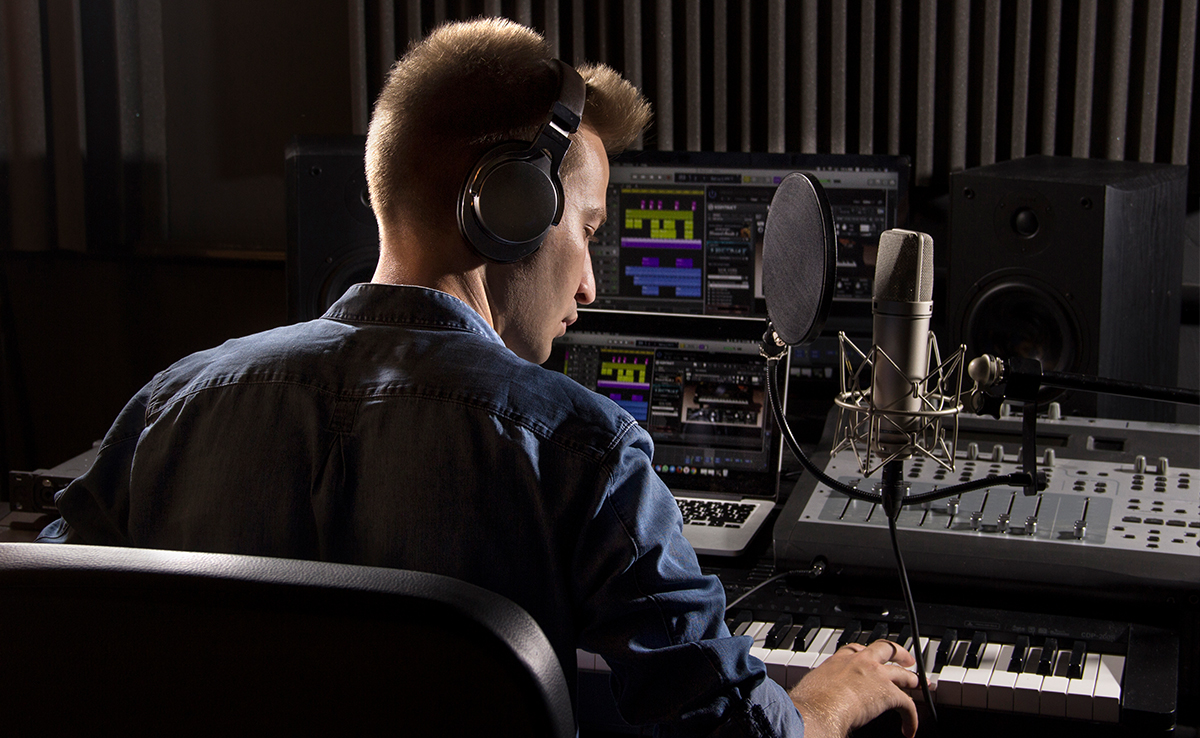
Unless you’ve been living under a rock, you’ve probably seen the exponential increase in live streaming since the start of the current COVID-19 pandemic. Whether it’s a DJ doing a mix, a band throwing an intimate concert, or even a couple of friends doing a podcast, it seems like everyone is going live on social media and other streaming sites. Are you wanting to get in on the action but aren’t sure where to start? Below we’ve created a list of what you need and how to get started. For this article, we are going to focus on the audio side of things and will assume you’re using your computer’s built-in webcam.


Audio Interface
The most important part of a good live stream is quality audio, which begins with your connection to your computer. If you’re doing a simple podcast, many USB microphones contain their own audio interface and are “plug and play.” All you need to do is connect them to a computer, select the microphone within your streaming program, and away you go. For a DJ or band looking to add a controller or instruments to the mix, an audio interface will allow you to plug in a mixer, microphones, and more. Audio interfaces may also have headphones outputs so that you can monitor what’s going into the computer and correct any distortion that may occur. In addition to dedicated devices, many live sound mixers have a USB output so that they can be used as an audio interface.


Speakers
If you’re a DJ or band, you’re going to want to be able to hear yourself while you’re performing. If you have a DJ mixer, you can use the booth output to send an audio signal to a pair of studio monitors or even your PA system. If you don’t have a second output on your mixer, many audio interfaces will have a monitor output that can be sent to a speaker system. Having a pair of studio monitors in a dedicated live stream location allows you to quickly start streaming without having to set up your sound system every time.


Microphones
There are a few ways you can connect a microphone to your computer for live streaming. If you’re using a USB microphone, you can simply plug it in and begin using it immediately. For DJs, you can choose to plug your normal microphone into your mixer or plug it directly into your audio interface if a spare input is available. If you’re seated, a tabletop microphone stand frees up your hands while a normal tripod or floor stand works best for DJs and musicians.


Streaming Platforms
Lastly, you need a place to begin streaming! The most well-known and easily accessible options are social media platforms like Facebook and Instagram. One of the biggest benefits of these sites is that you already have friends and followers in place, ready to see your content. In addition, these sites will even alert your followers that you’ve gone live – a little bit of free promotion! The downside to using major sites like Facebook is that they have sophisticated copyright software constantly monitoring live streams to detect the use of music, which may interrupt or even end your stream early.
Many DJs have moved beyond social media and started streaming on other sites like Zoom, Twitch, and Mixcloud. Each of these sites has its’ own pros and cons. Zoom, for example, has far fewer issues with removing copyrighted music; however, it is more difficult to recruit listeners to a zoom call. Twitch saw a surge in popularity for DJs as it seemed to be more permissive when streaming music, but lately they have been cracking down in this area. Mixcloud is a beacon of hope for DJs, promising a legal space where DJs can share their mixes without risk of removal, but it is still too new to be widely adopted.


Streaming Software Basics
If you want to take your streams to the next level you’ll need some dedicated streaming software. Streaming software will allow you to handle more advanced tasks like managing multiple cameras, inserting transitions, and overlaying a watermark or logo. You can even use a green screen to simulate a virtual stage or other location. The great thing is that streaming software doesn’t have to cost you anything! OBS Studio is a widely used, free open-source program that has a lot of customization. It’s not the most intuitive program, but if you’re willing to watch some online tutorials you can learn it quickly.


Putting It All Together
Once you have all of your equipment and your chosen streaming site, hooking everything up is simpler than it may seem. If you’re only doing spoken content through a USB mic, all you need to do is connect it to your computer, open your program of choice, select the microphone from your input list, adjust the gain so that it’s not too loud or soft, and you’re good to go.
For DJs and bands, you’ll need to connect your mixer or instruments to your audio interface using standard XLR, 1/4″, or RCA cables. Then connect the USB cable from your audio interface or USB mixer to your computer. After opening a streaming site and selecting the audio interface from the input options, you can adjust the individual channel volumes on the interface itself to make sure the volume and mix are correct.
All that’s left is to go live and start sharing your content with the world!
 How Can We Help?


